Step-by-Step: Create a Fixed Layout Extractor for Business Registration Form
This step-by-step tutorial will demonstrate how FormX can take care of the data extraction process from documents that share a format.
Objective
In this tutorial, we will build a fixed layout extractor to obtain the following information from the business registration forms:
- Name of Business
- Branch Name
- Expiry Date
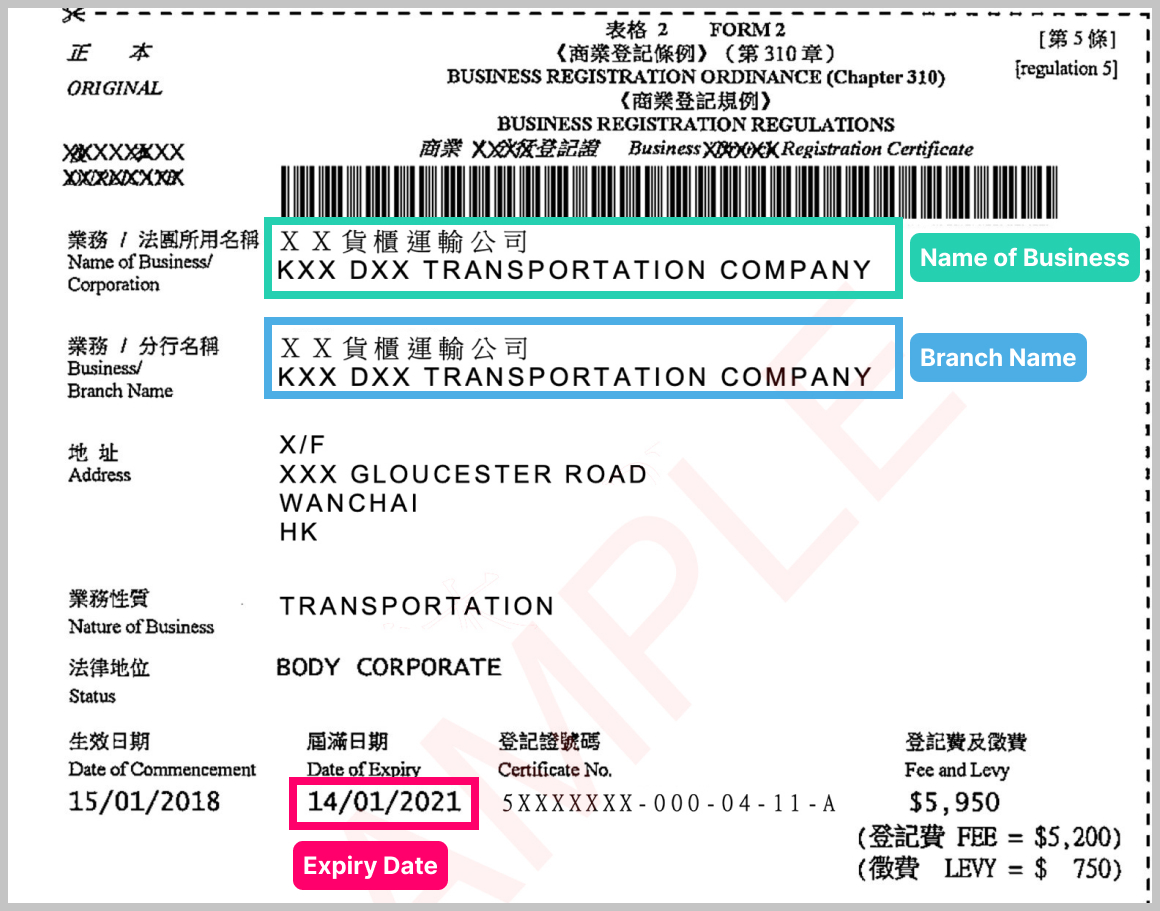
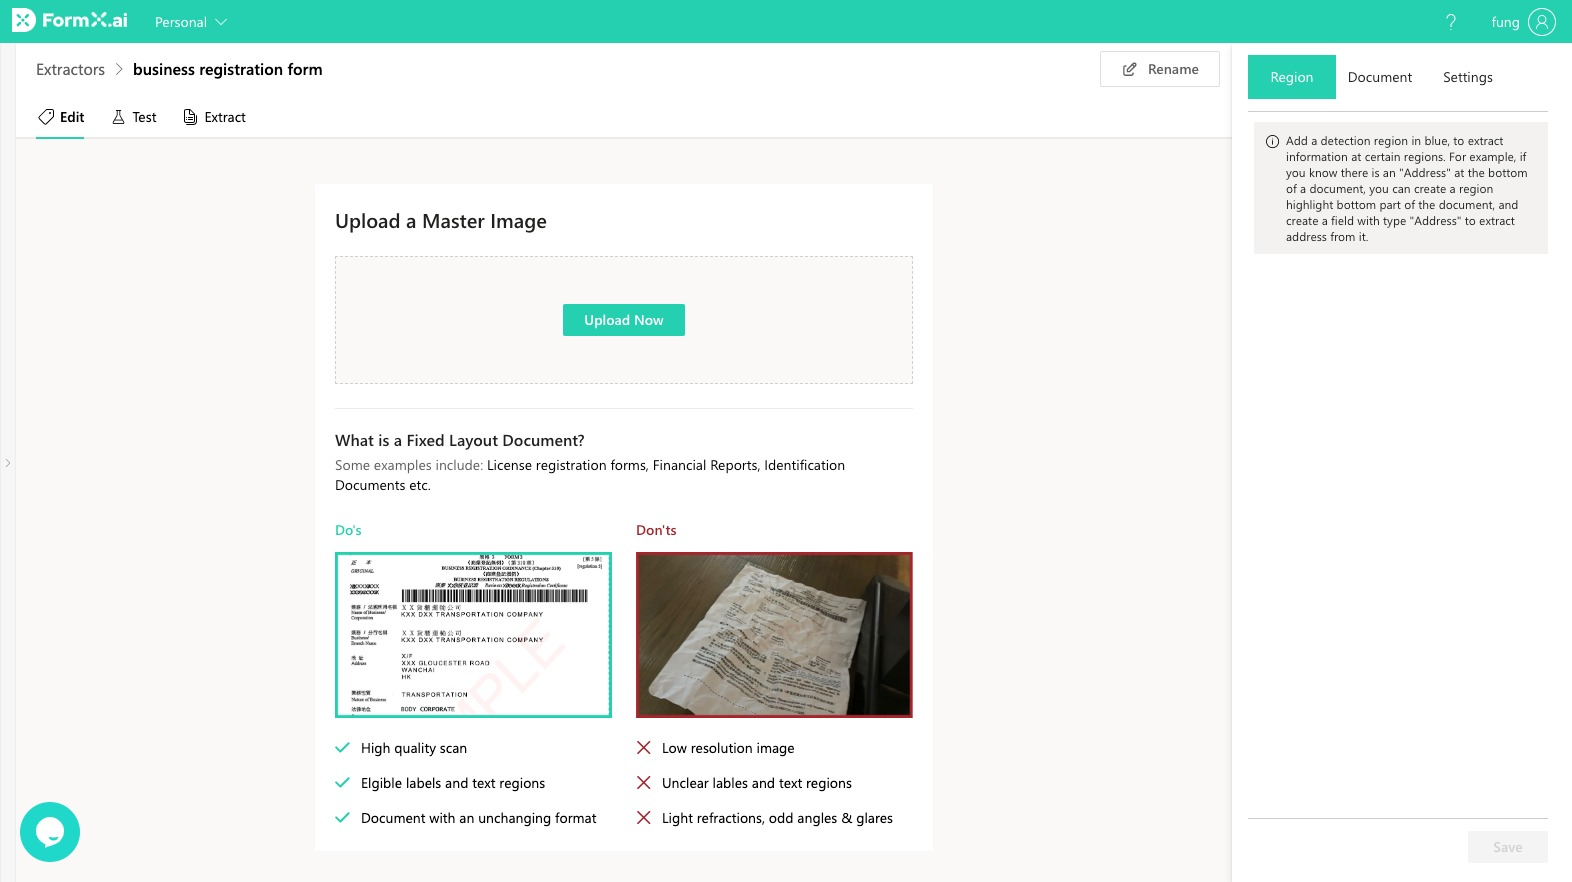
Step 1: Prepare the master image
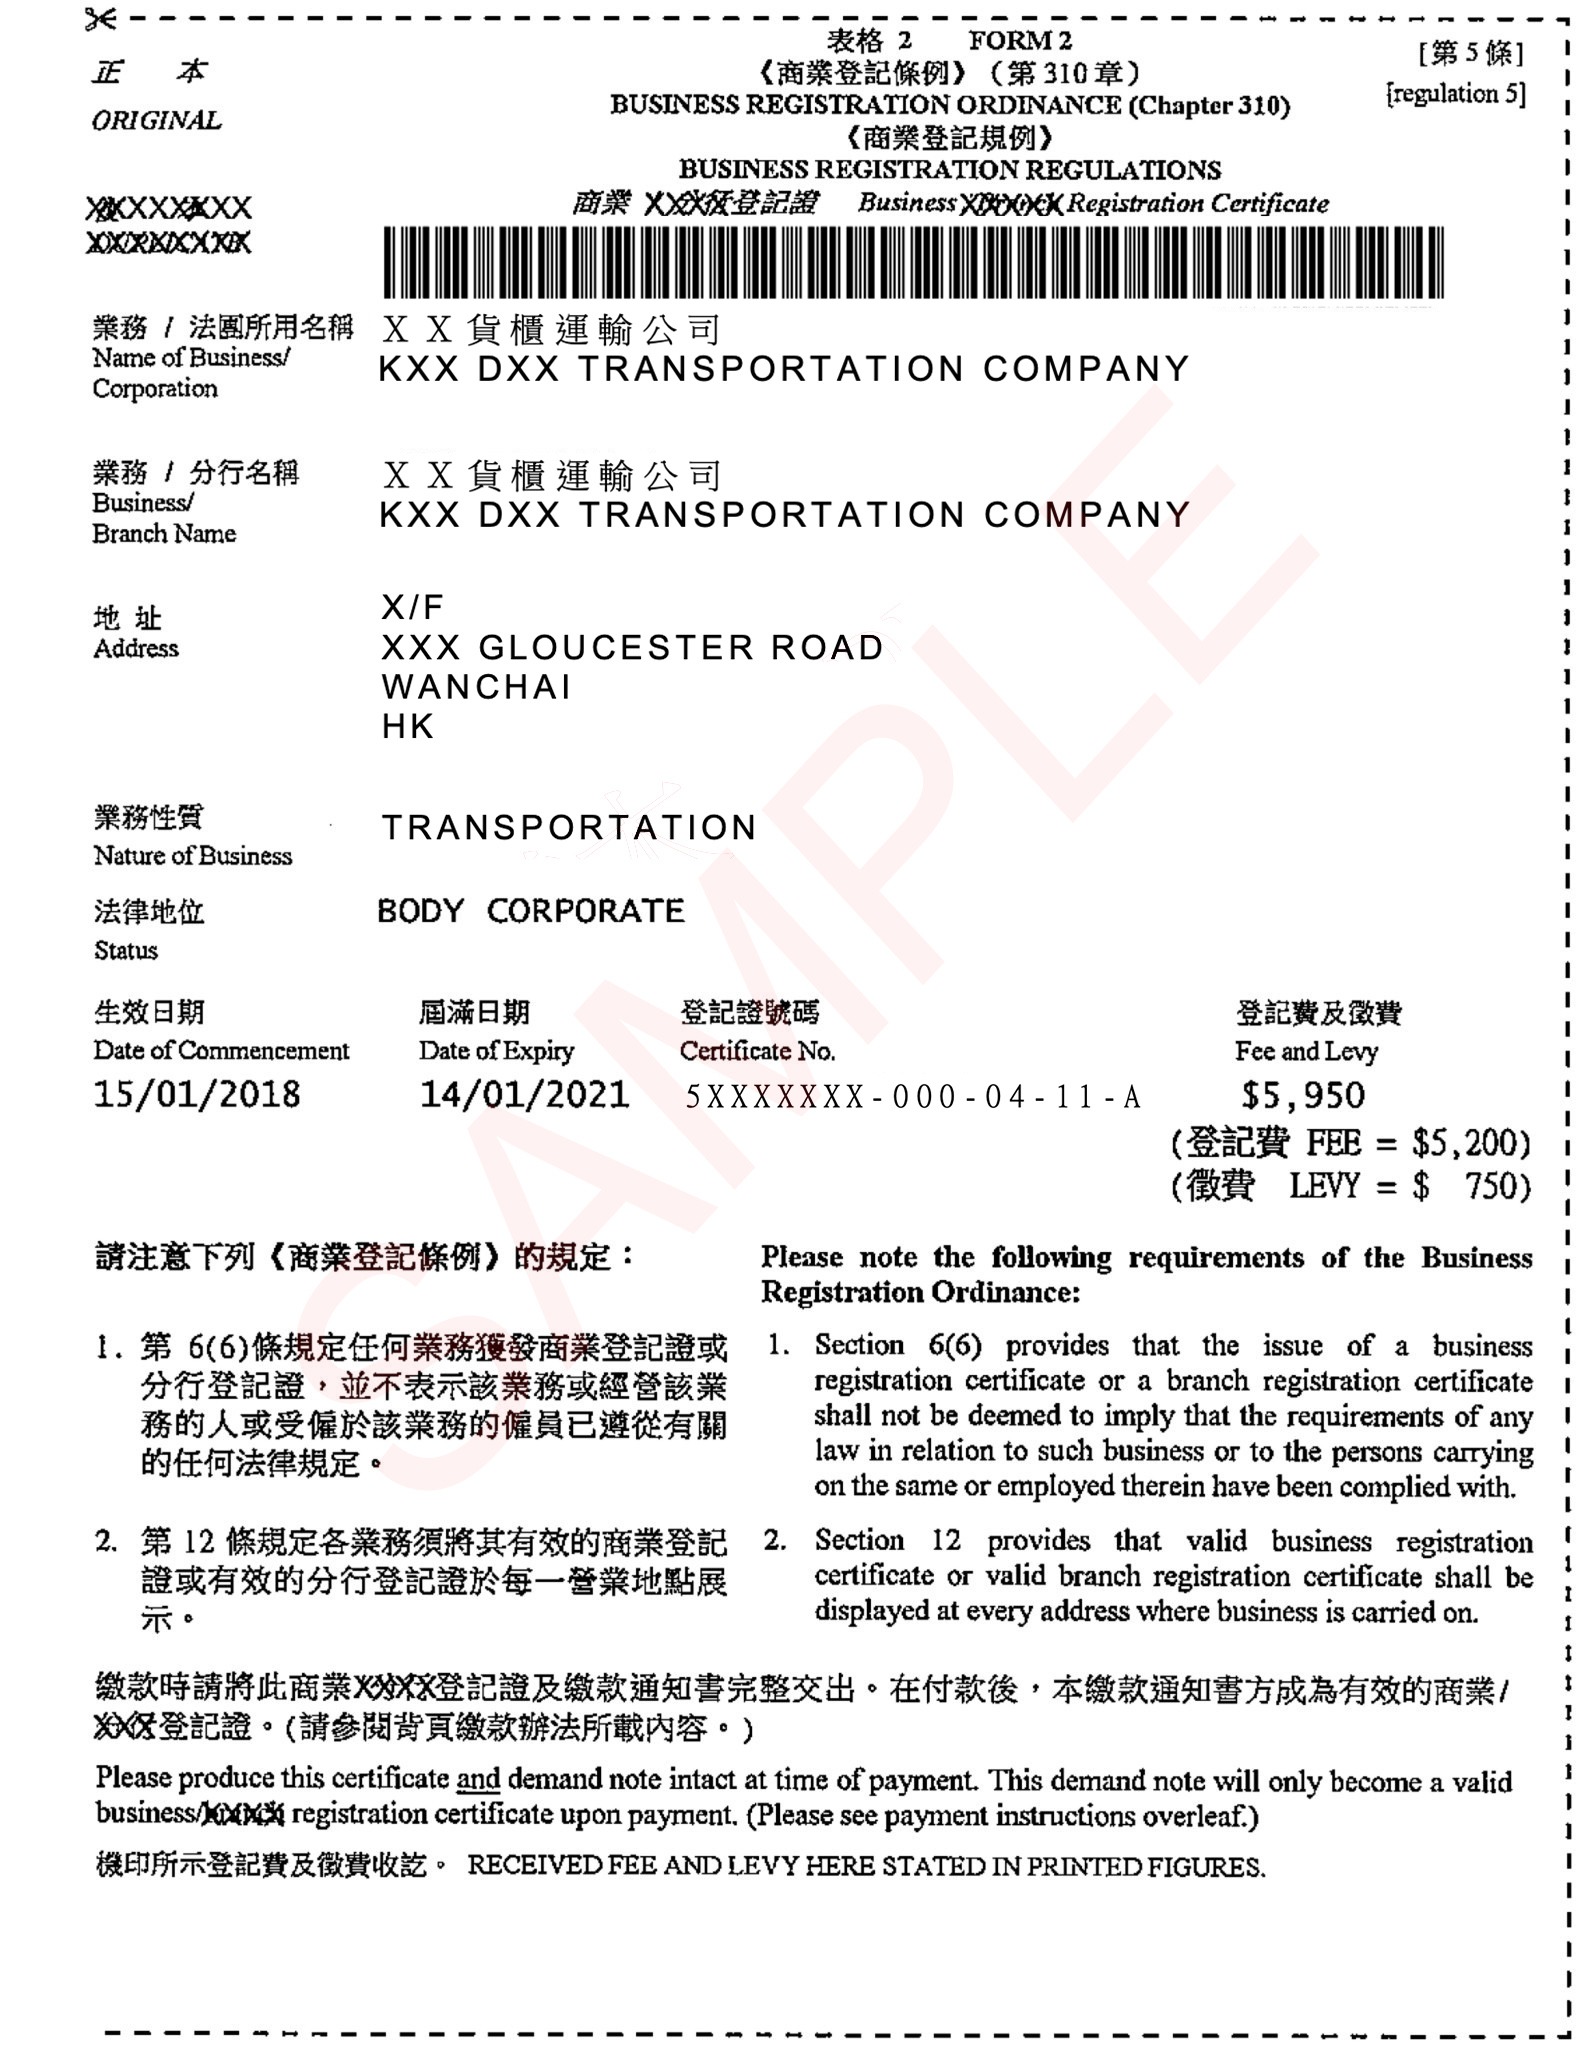
The master image is a high quality scan of a specimen of the document you wish to extract.
| ✅ Do | ❌ Don't |
|---|---|
| High quality scan | Low resolution image |
| Eligible labels and text | Unclear labels and text |
| Document with an unchanging format | Wrinkles, odd angles & glares |
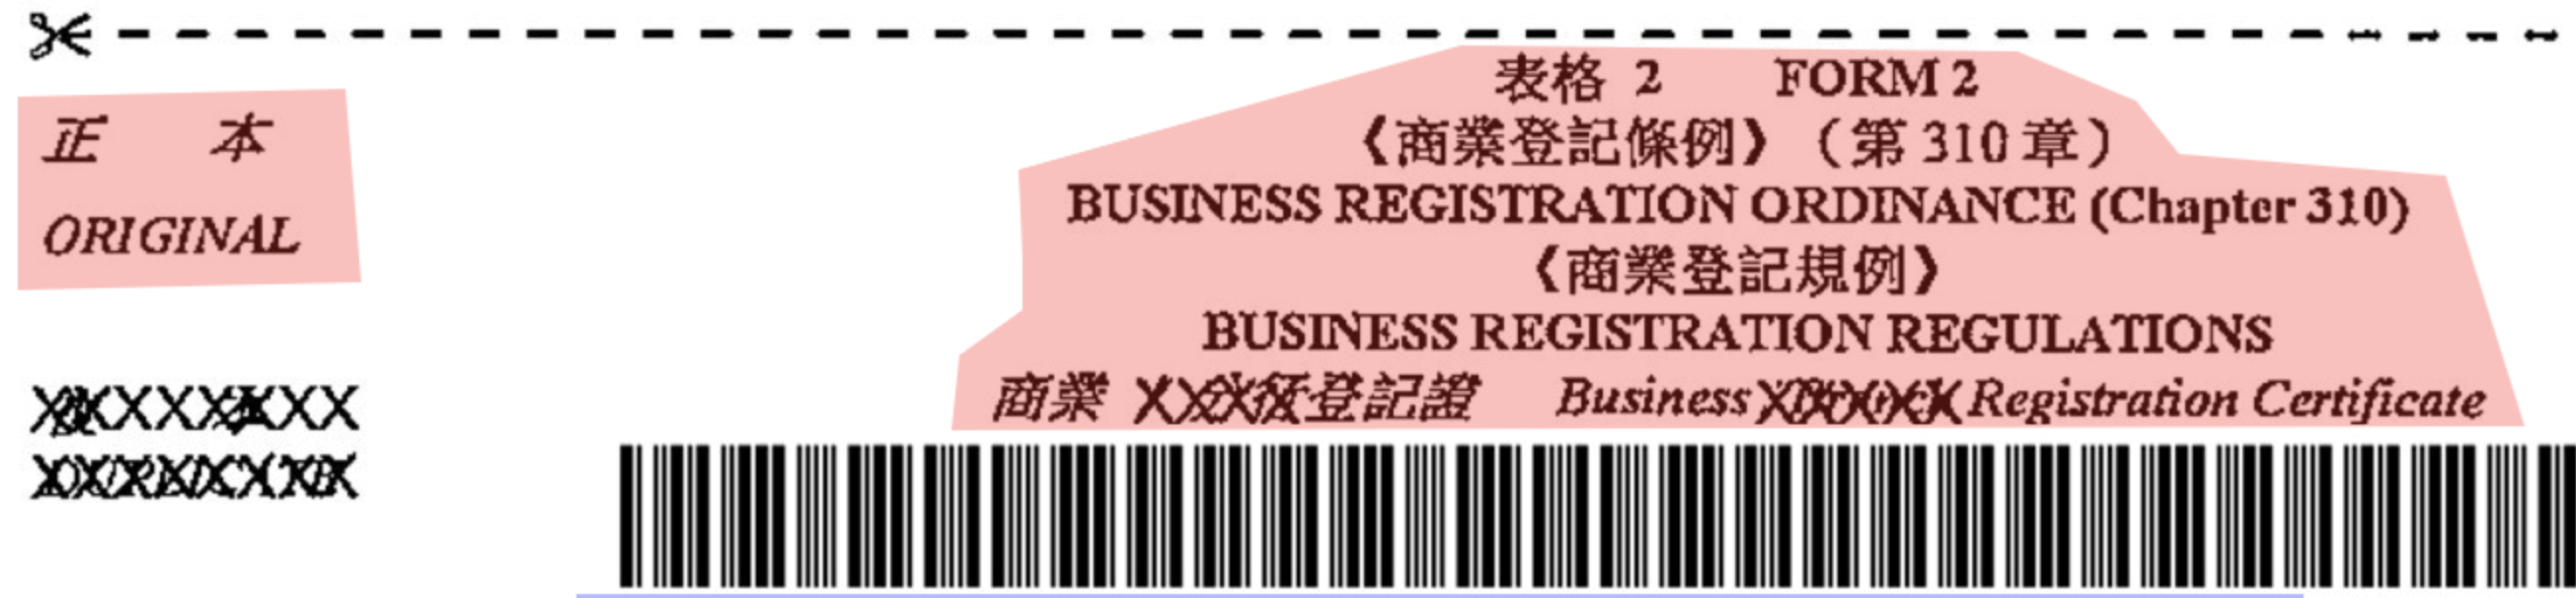
We have prepared this image as the master image for this tutorial (Download)
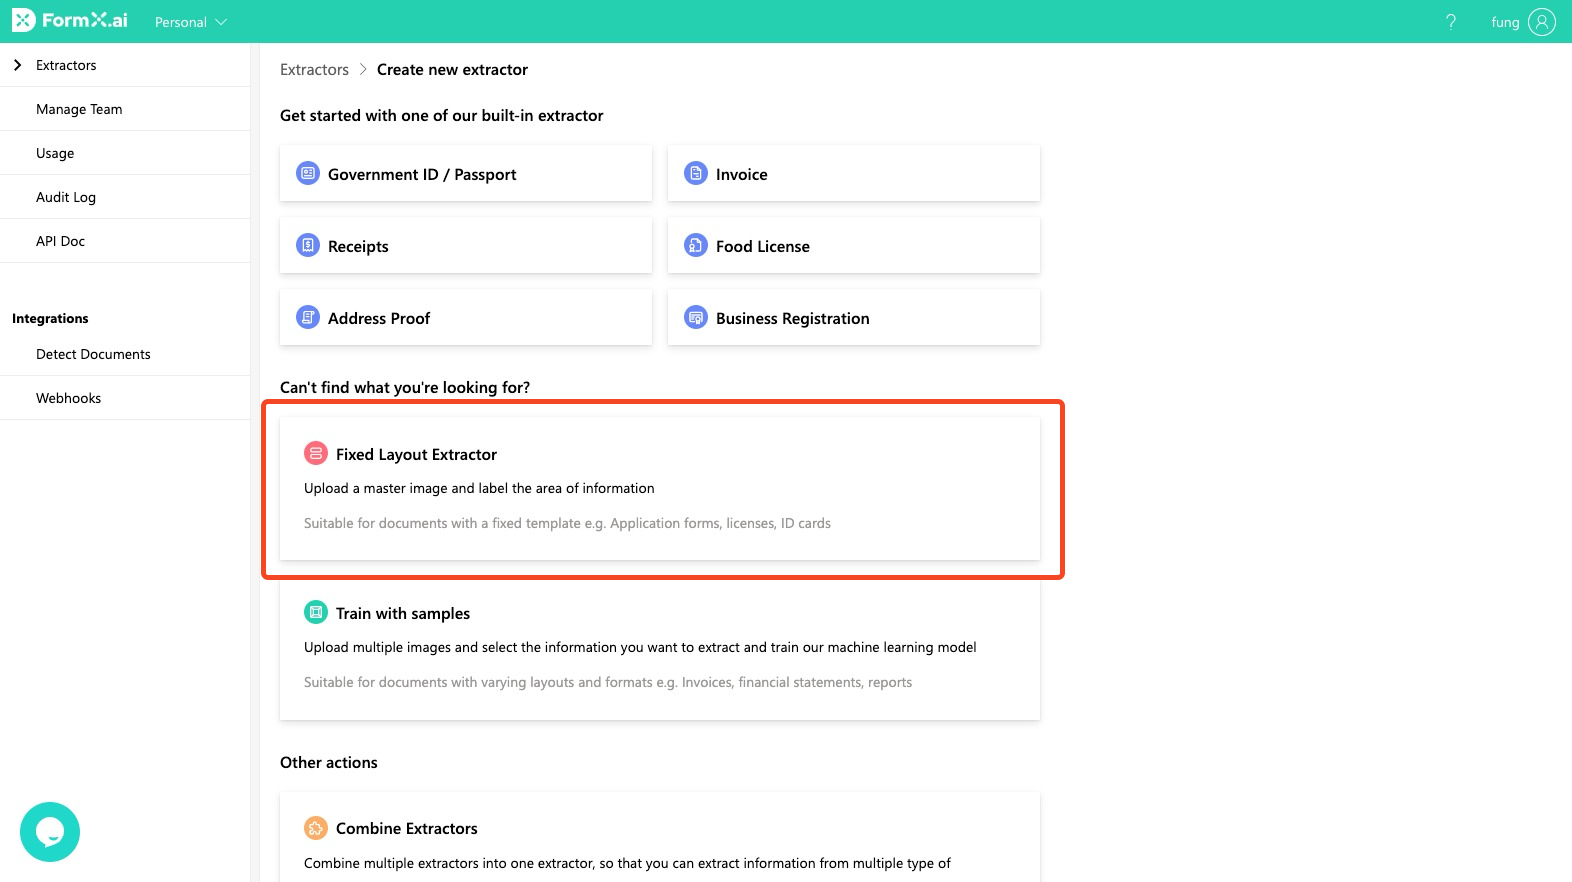
Step 2: Create the extractor
Create a new extractor from the "Extractors" page of FormX Portal. Select "Fixed Layout Extractor" as the type.
Name the extractor "business registration form, and click "Create"
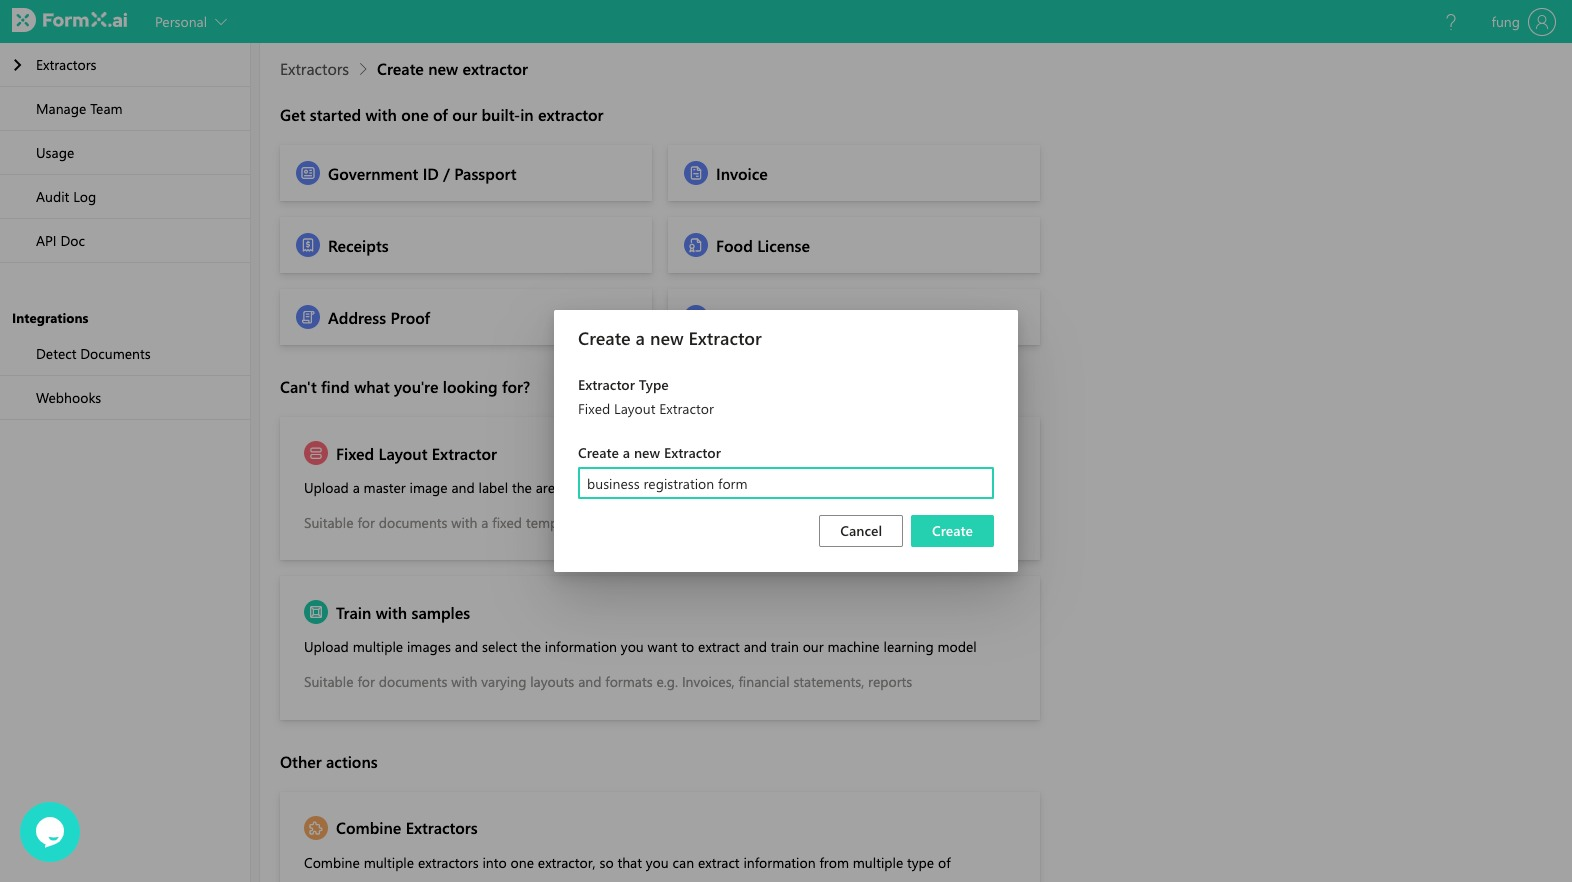
You will be directed to the Editor page. Upload the master image prepared in step 1.
Step 3: Set up the Anchors
An Anchor is the area that serves as a positional reference point, allowing FormX to warp uploaded images into the correct orientation.
Identify the common parts of your documents and mark them as the anchors. At least three anchors are required for FormX to function properly. The more anchors marked, the better performance will be.
In the example, the text "ORIGINAL" and the document header are good anchors. The areas like the actual business name are different on every instance, so they don't make good anchors.
Choose the red tool on the left toolbar to start marking.
Make dots to encircle the area as shown in the GIF below.
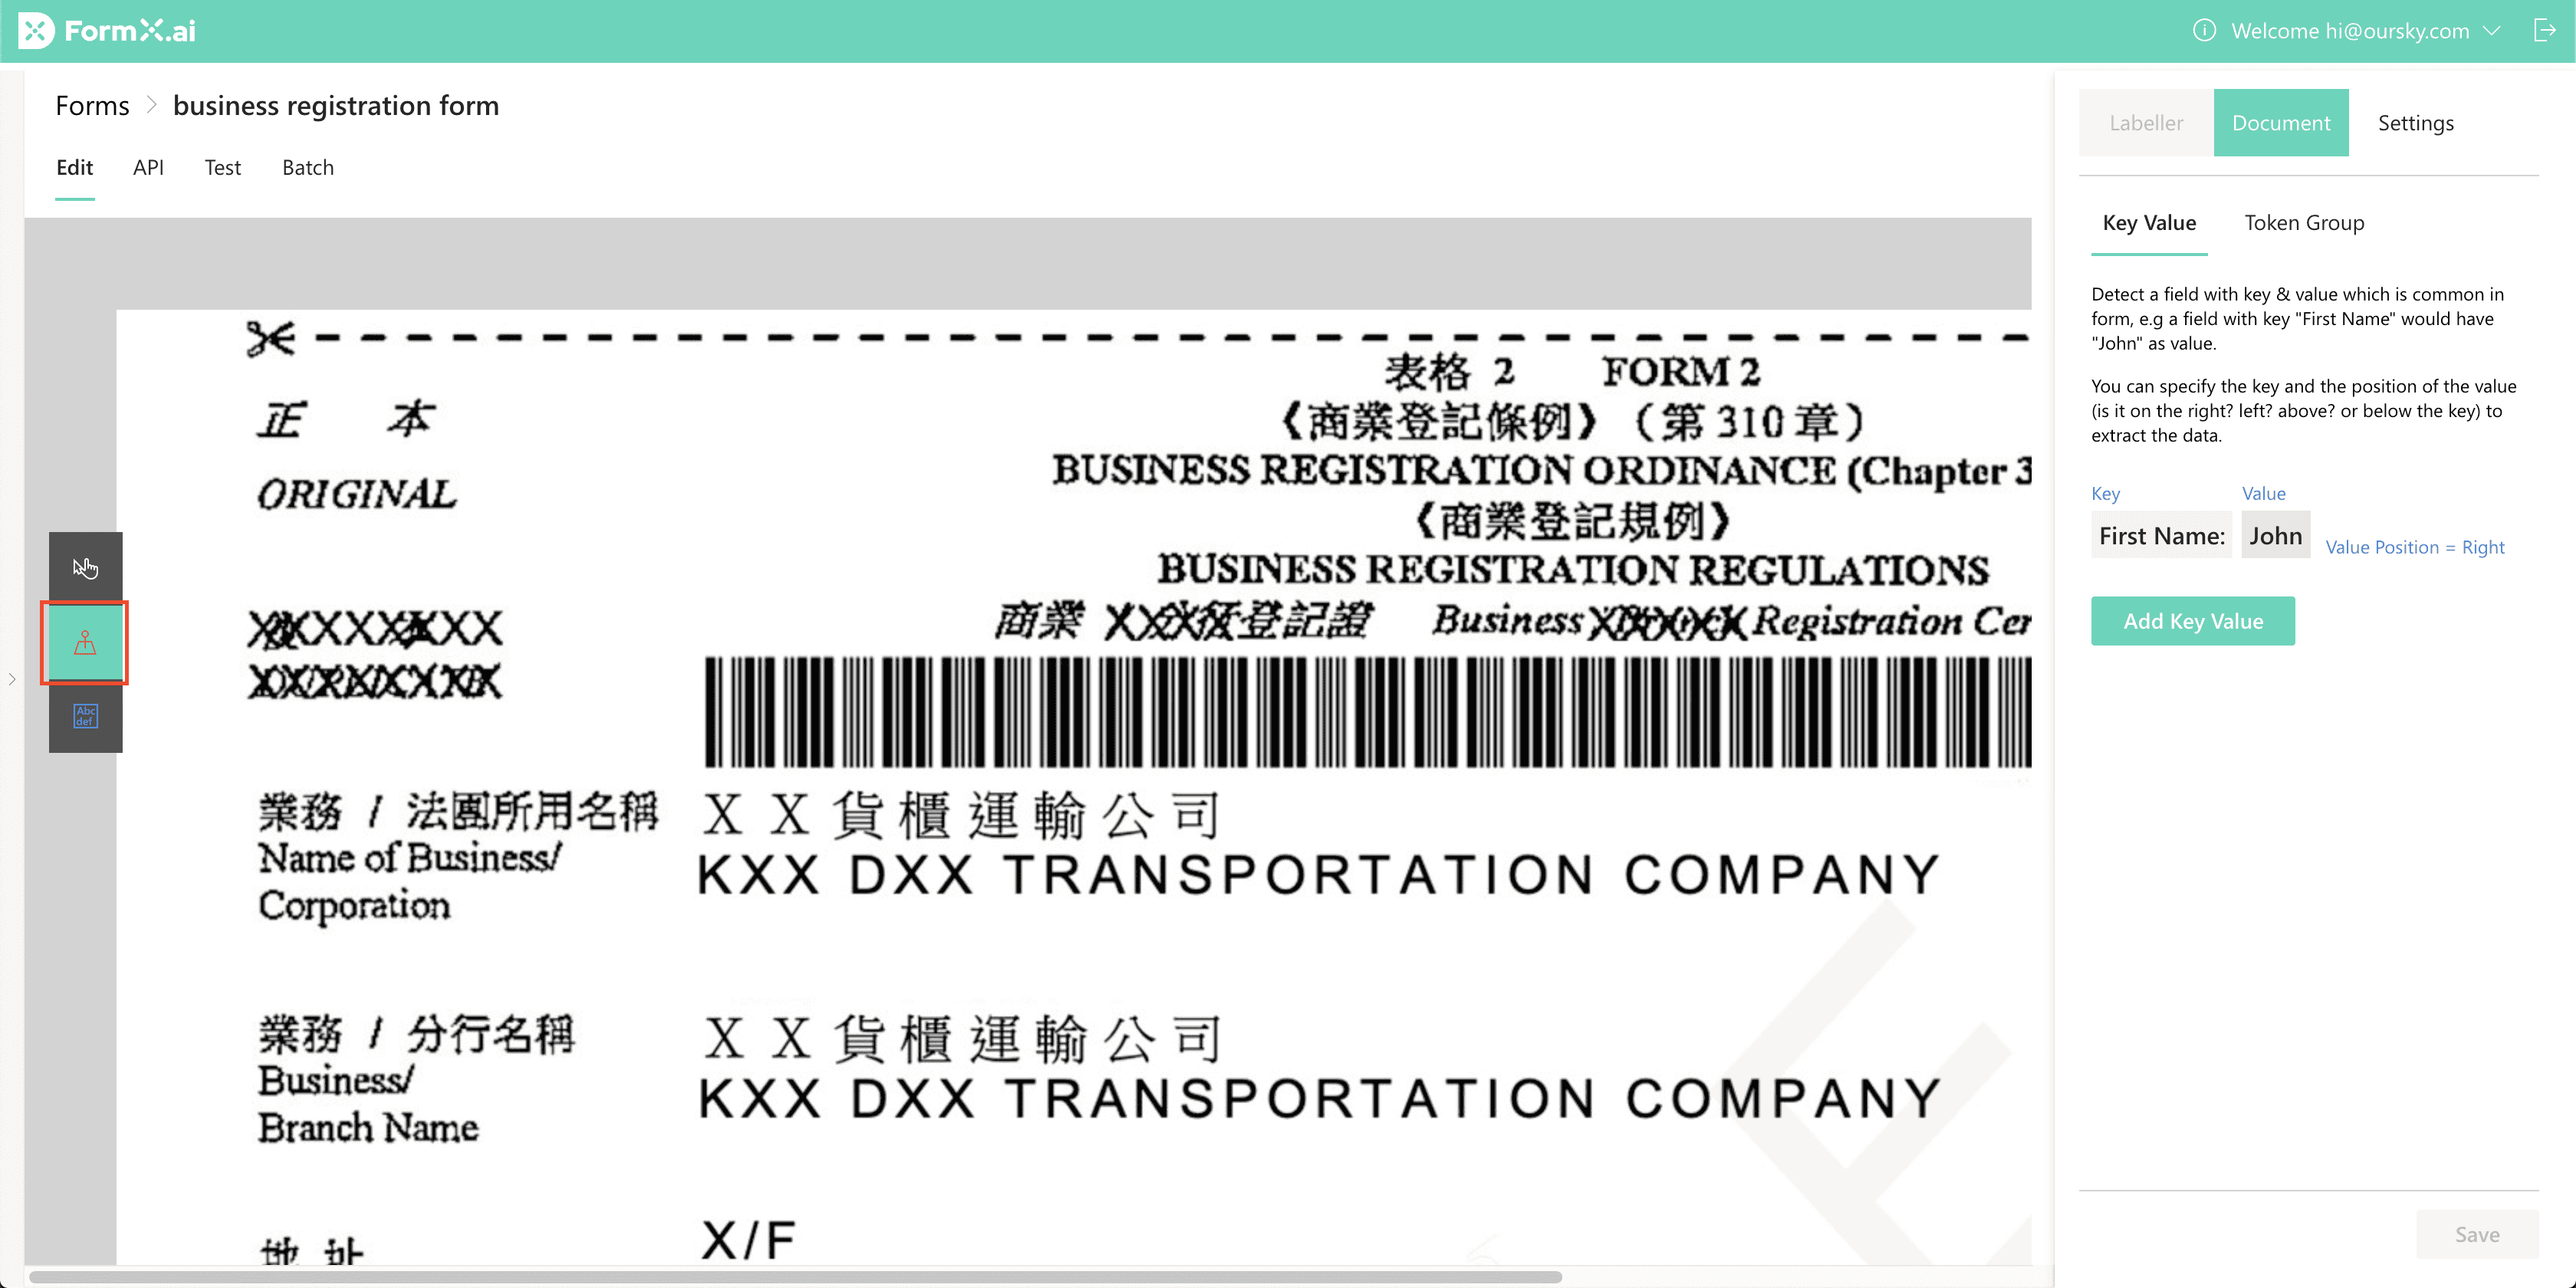
Step 4: Set up the Detection Regions
Detection Regions are the areas that are marked from which you need data extracted. One Detection Region can have several extraction fields, as one region can contain several items of data that are worth obtaining or extracting.
Mark the area where you want information extracted from on the master form with Detection Region.
Choose the blue tool on the left toolbar to start marking.
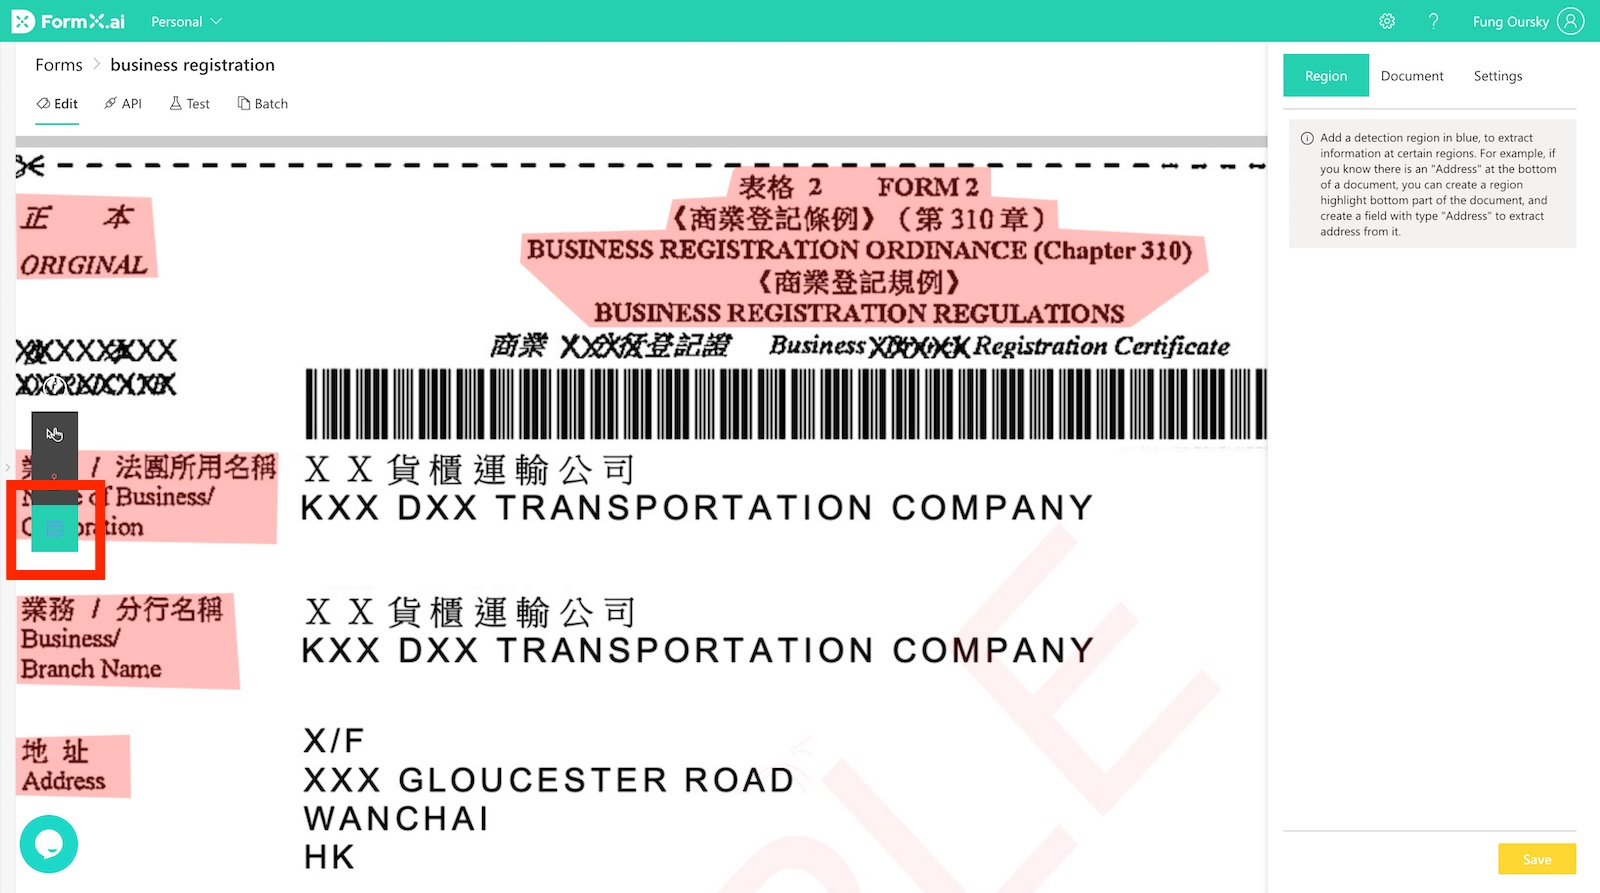
We want to extract the Business name from the document. Drag across the region that contains the value on the image.
Then add a Extraction Field using the side bar on the right.
FormX can automatically extract Text, Barcode/QR codes, date, addresses, or more formats from the region. Choose the right field type and field settings to get an optimized result.
As shown below, we'll add 3 Detection Regions, each containing a field, "name of business", "branch name", and "expiry date" respectively.
Click the "Save" button. Now you've finished setting up this form!
Step 5: Testing the extractor
There are two more business registration forms in the folder you've downloaded at the start of this tutorial. They will be uploaded to our freshly created extractor to have the target data extracted.
Navigate to the "Test" tab and upload br_2_mobile_taken.jpg. You will see the extraction result. Repeat these steps with the other image and you will get similar results.
As shown above, the br_2_mobile_taken.jpg was originally taken tilted angle, but it's corrected and aligned once it's uploaded. It was taken with a mobile phone, still FormX manages to enhance the image and returns satisfactory results.
Final step: Integrating FormX with any app
There are 2 ways FormX can be used in your workflow by integrating with any software using the API.
Go to the "Extract" tab and follow the instructions there. All you need is the "Form ID" and the "Access Token.
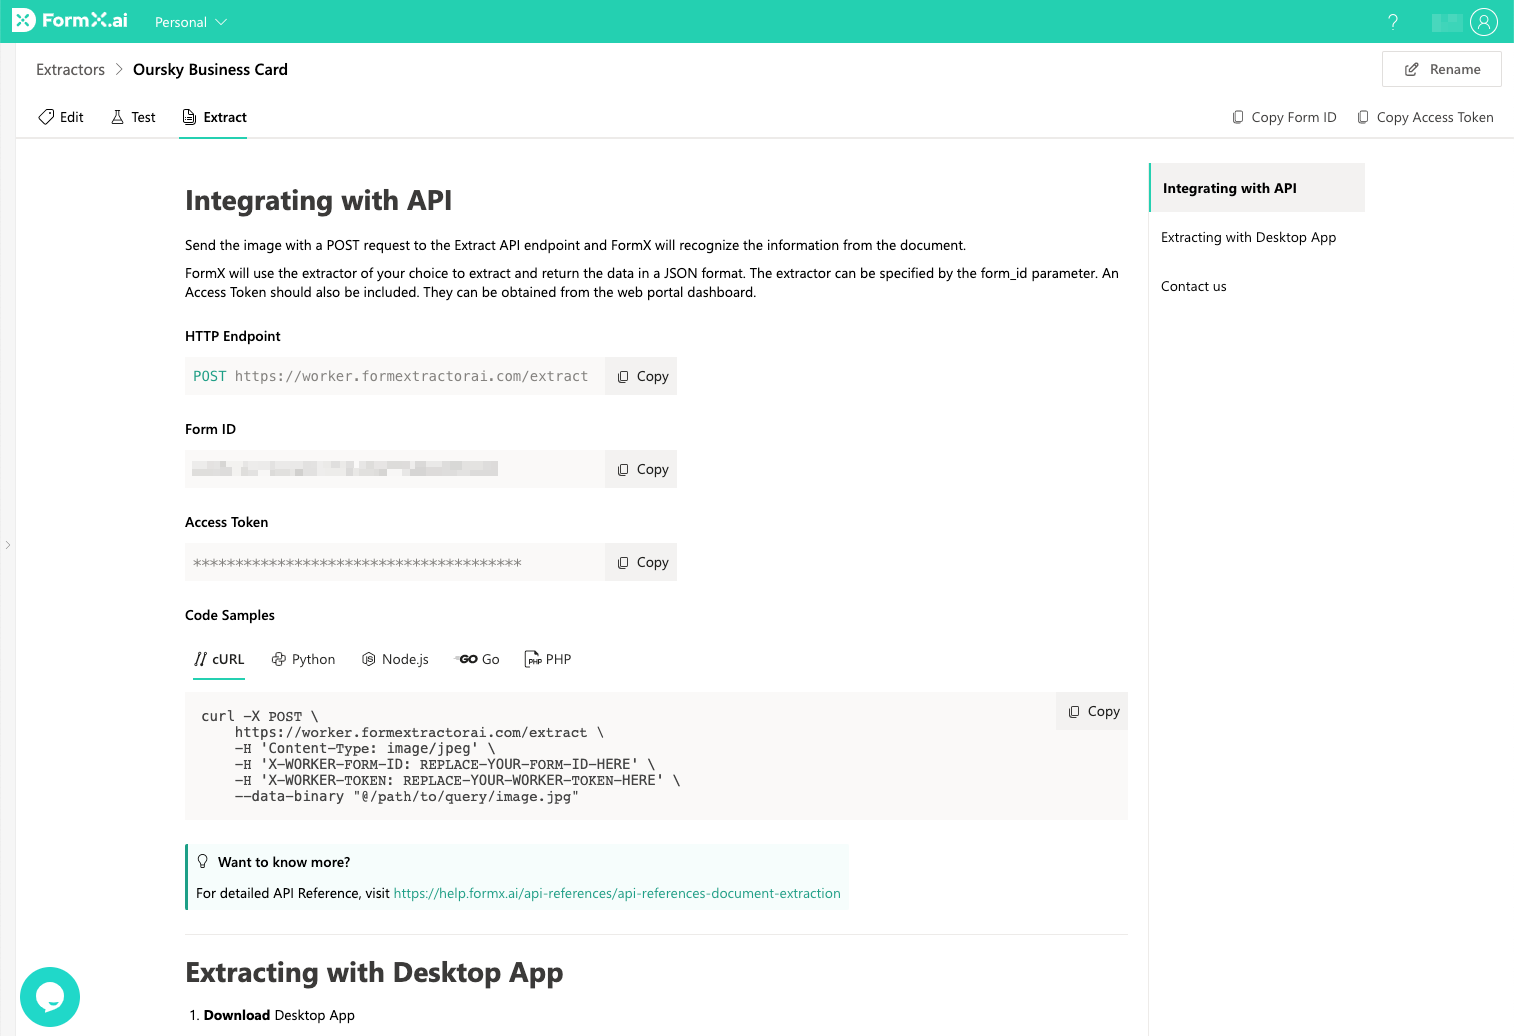
If you'd like to learn more about the APIs, see the API reference for the full features.