Split & Classify
FormX can automatically split a multi-page document into individual pages and classify each page by document type.
❗Enterprise Feature
Split & Classify is only available on Enterprise plan. Contact us to learn more or to get access.
Combined with naming patterns, this allows you to process mixed document batches — such as a scanned packet containing invoices, receipts, and ID cards — and receive cleanly labelled, structured output without manual sorting.
Split & Classify Overview
When you upload a multi-page document to FormX, the Split & Classify feature detects page boundaries, identifies the document type on each page, and routes each page to the appropriate extractor.
Setting Up Split & Classify in Extractors
Setting up Split & Classify involves 3 parts: creating and configuring your extractors first, combining your extractors into a single extractor, then create and connect the combined extractor to a workspace to start working on your files.
Part 1 - Create Your Individual Extractors
-
From Extractors, create an individual extractor for each document type you want to handle (e.g., Invoice, Receipt, ID Card). These are the extractors that will process each classified page.
-
Create an "Others" extractor to act as a fallback. Any page that doesn't match a recognised document type will be routed here, so nothing gets silently dropped.

Part 2 - Create a Combined Extractor
-
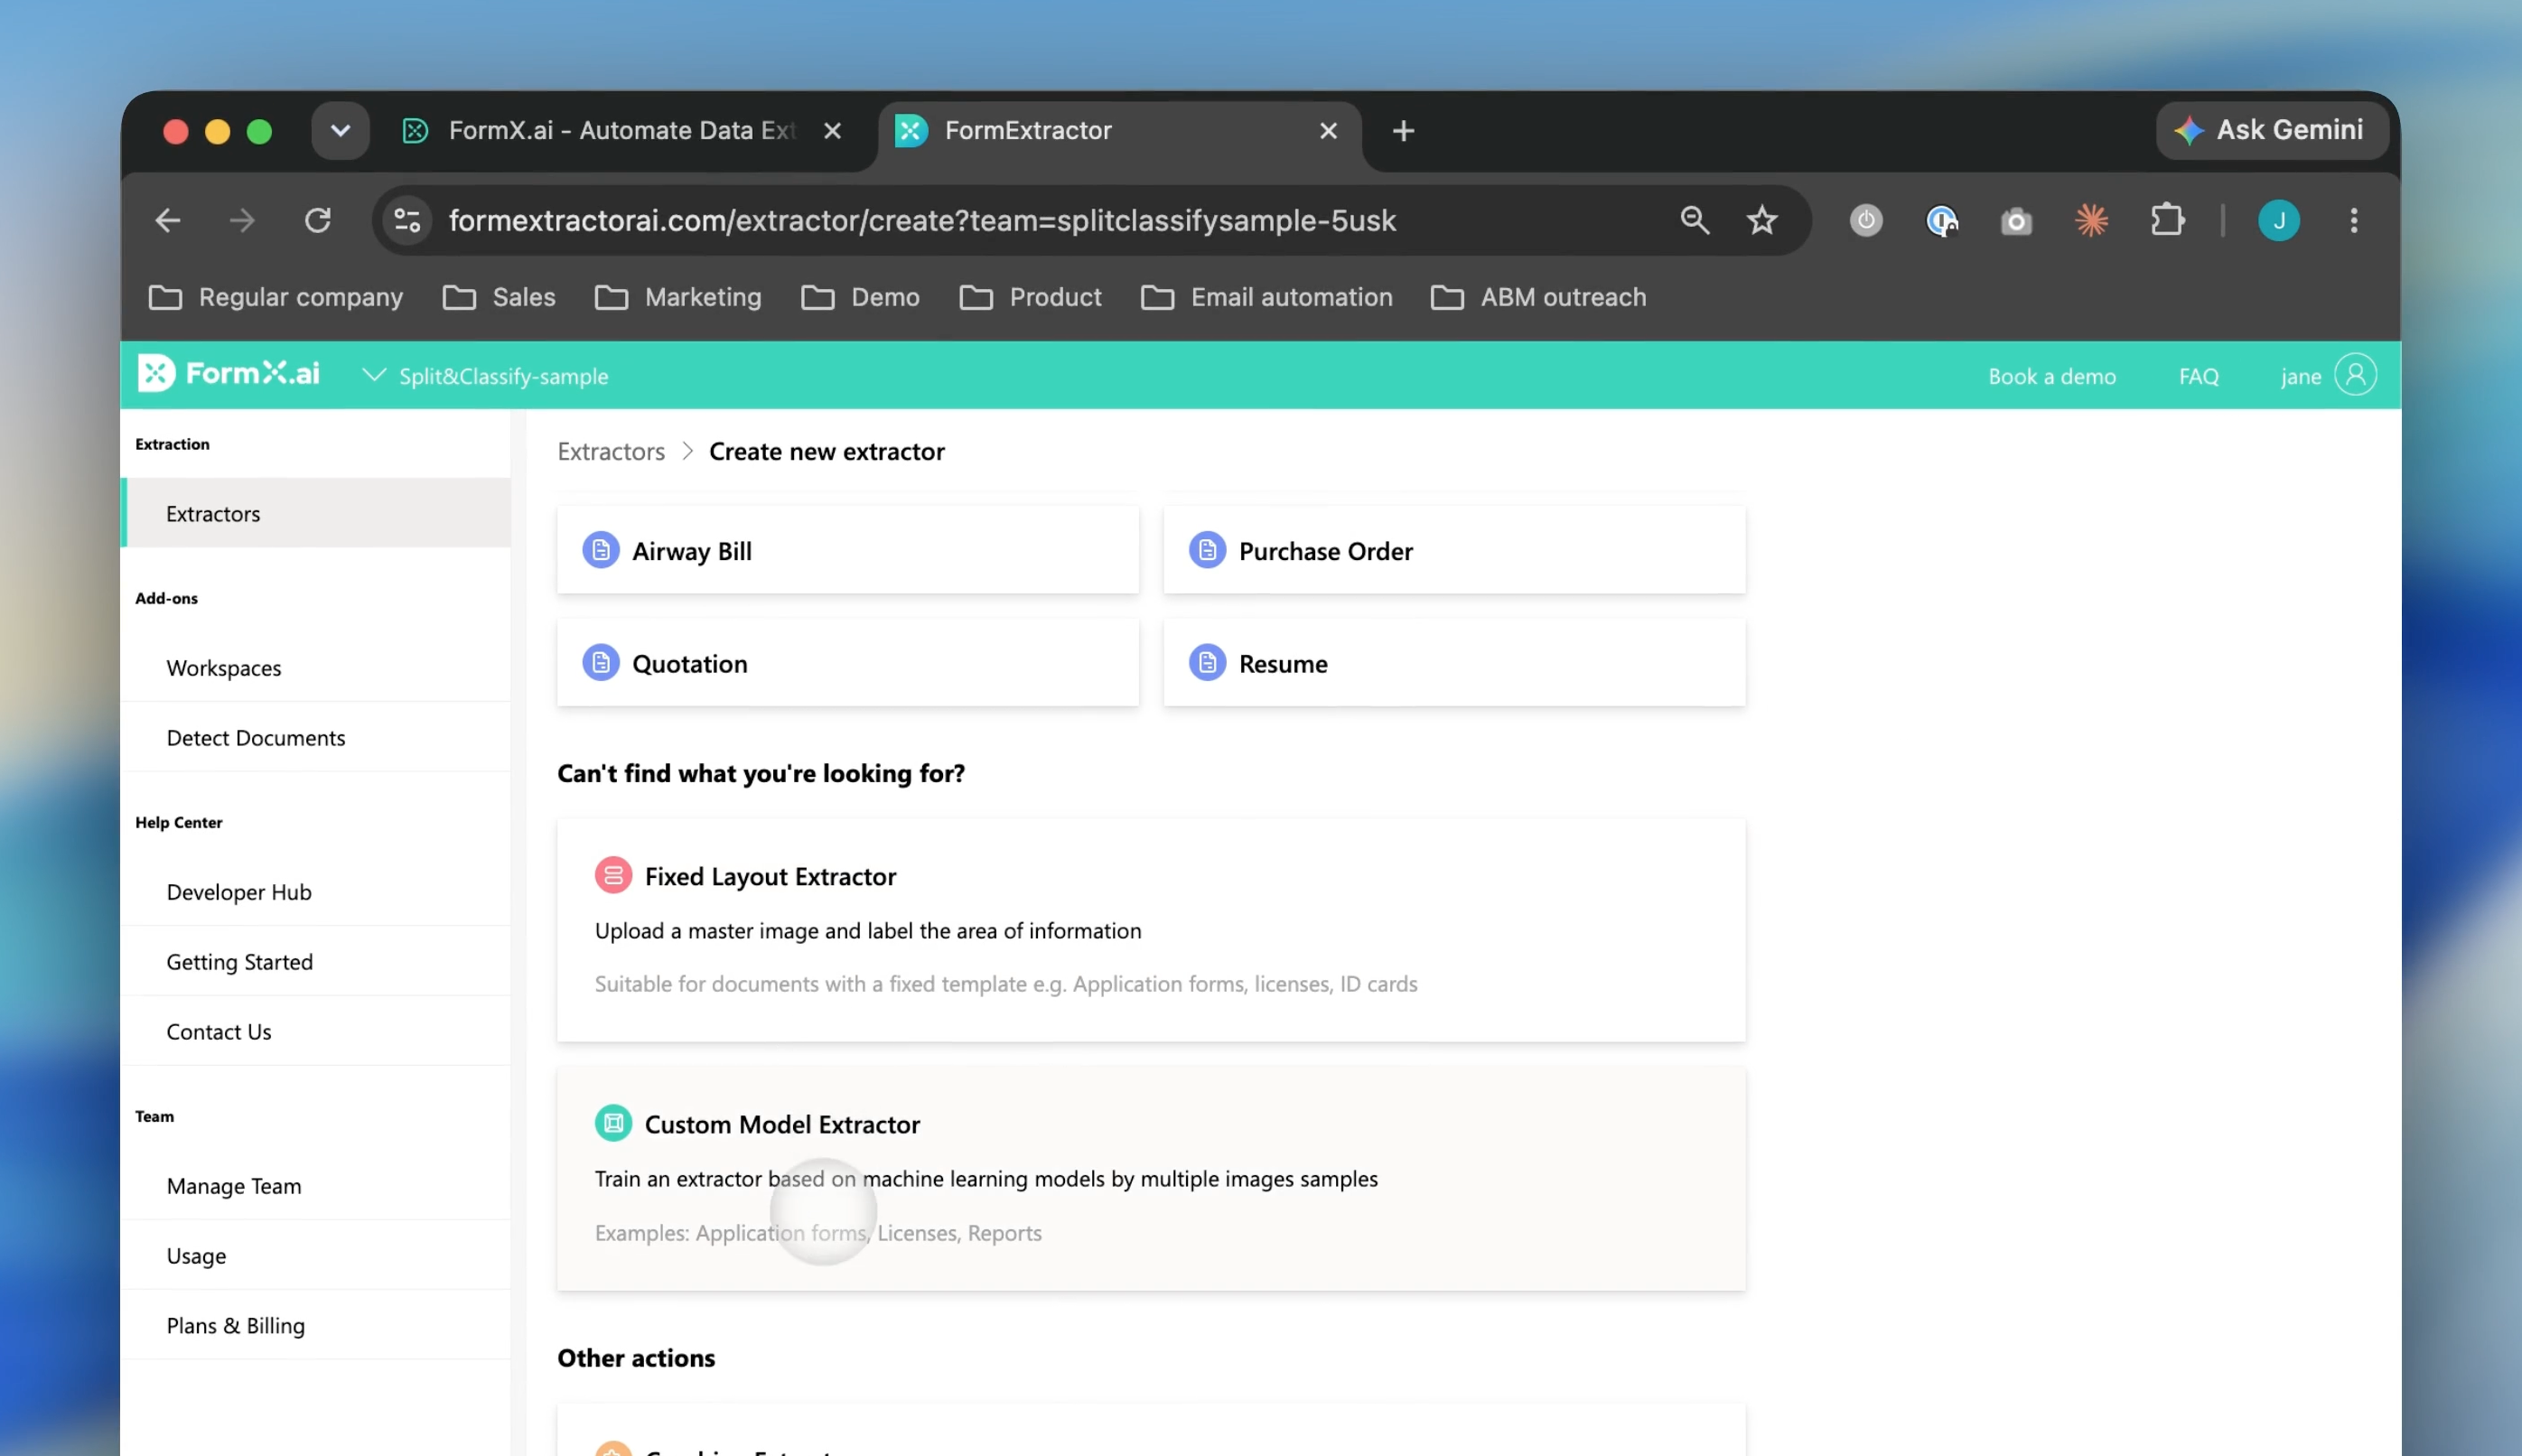
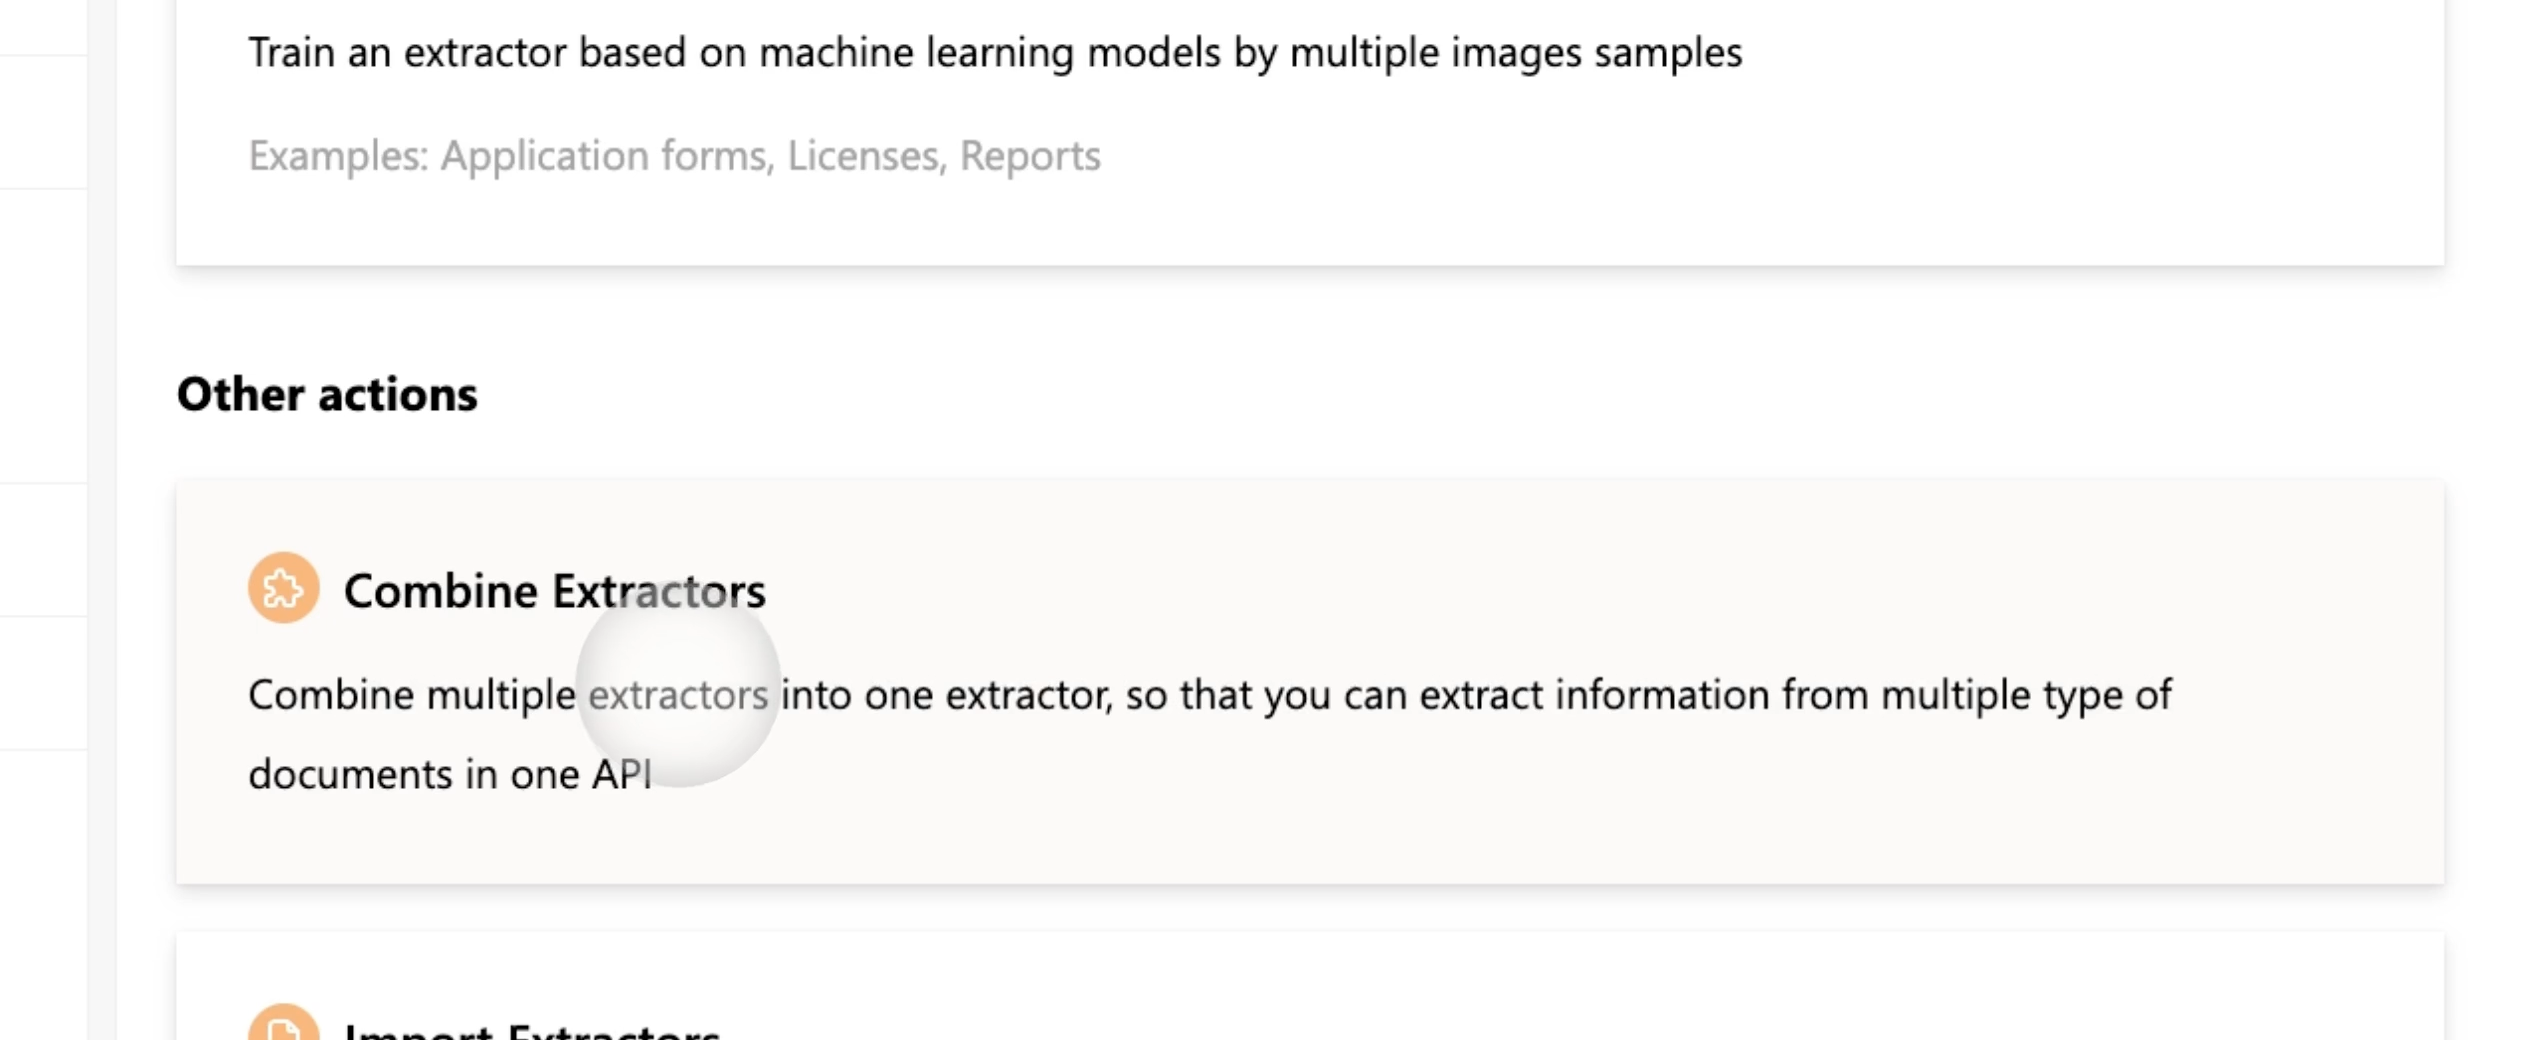
In Extractors, select "Create new extractor", scroll down and choose "Combine Extractors".
-
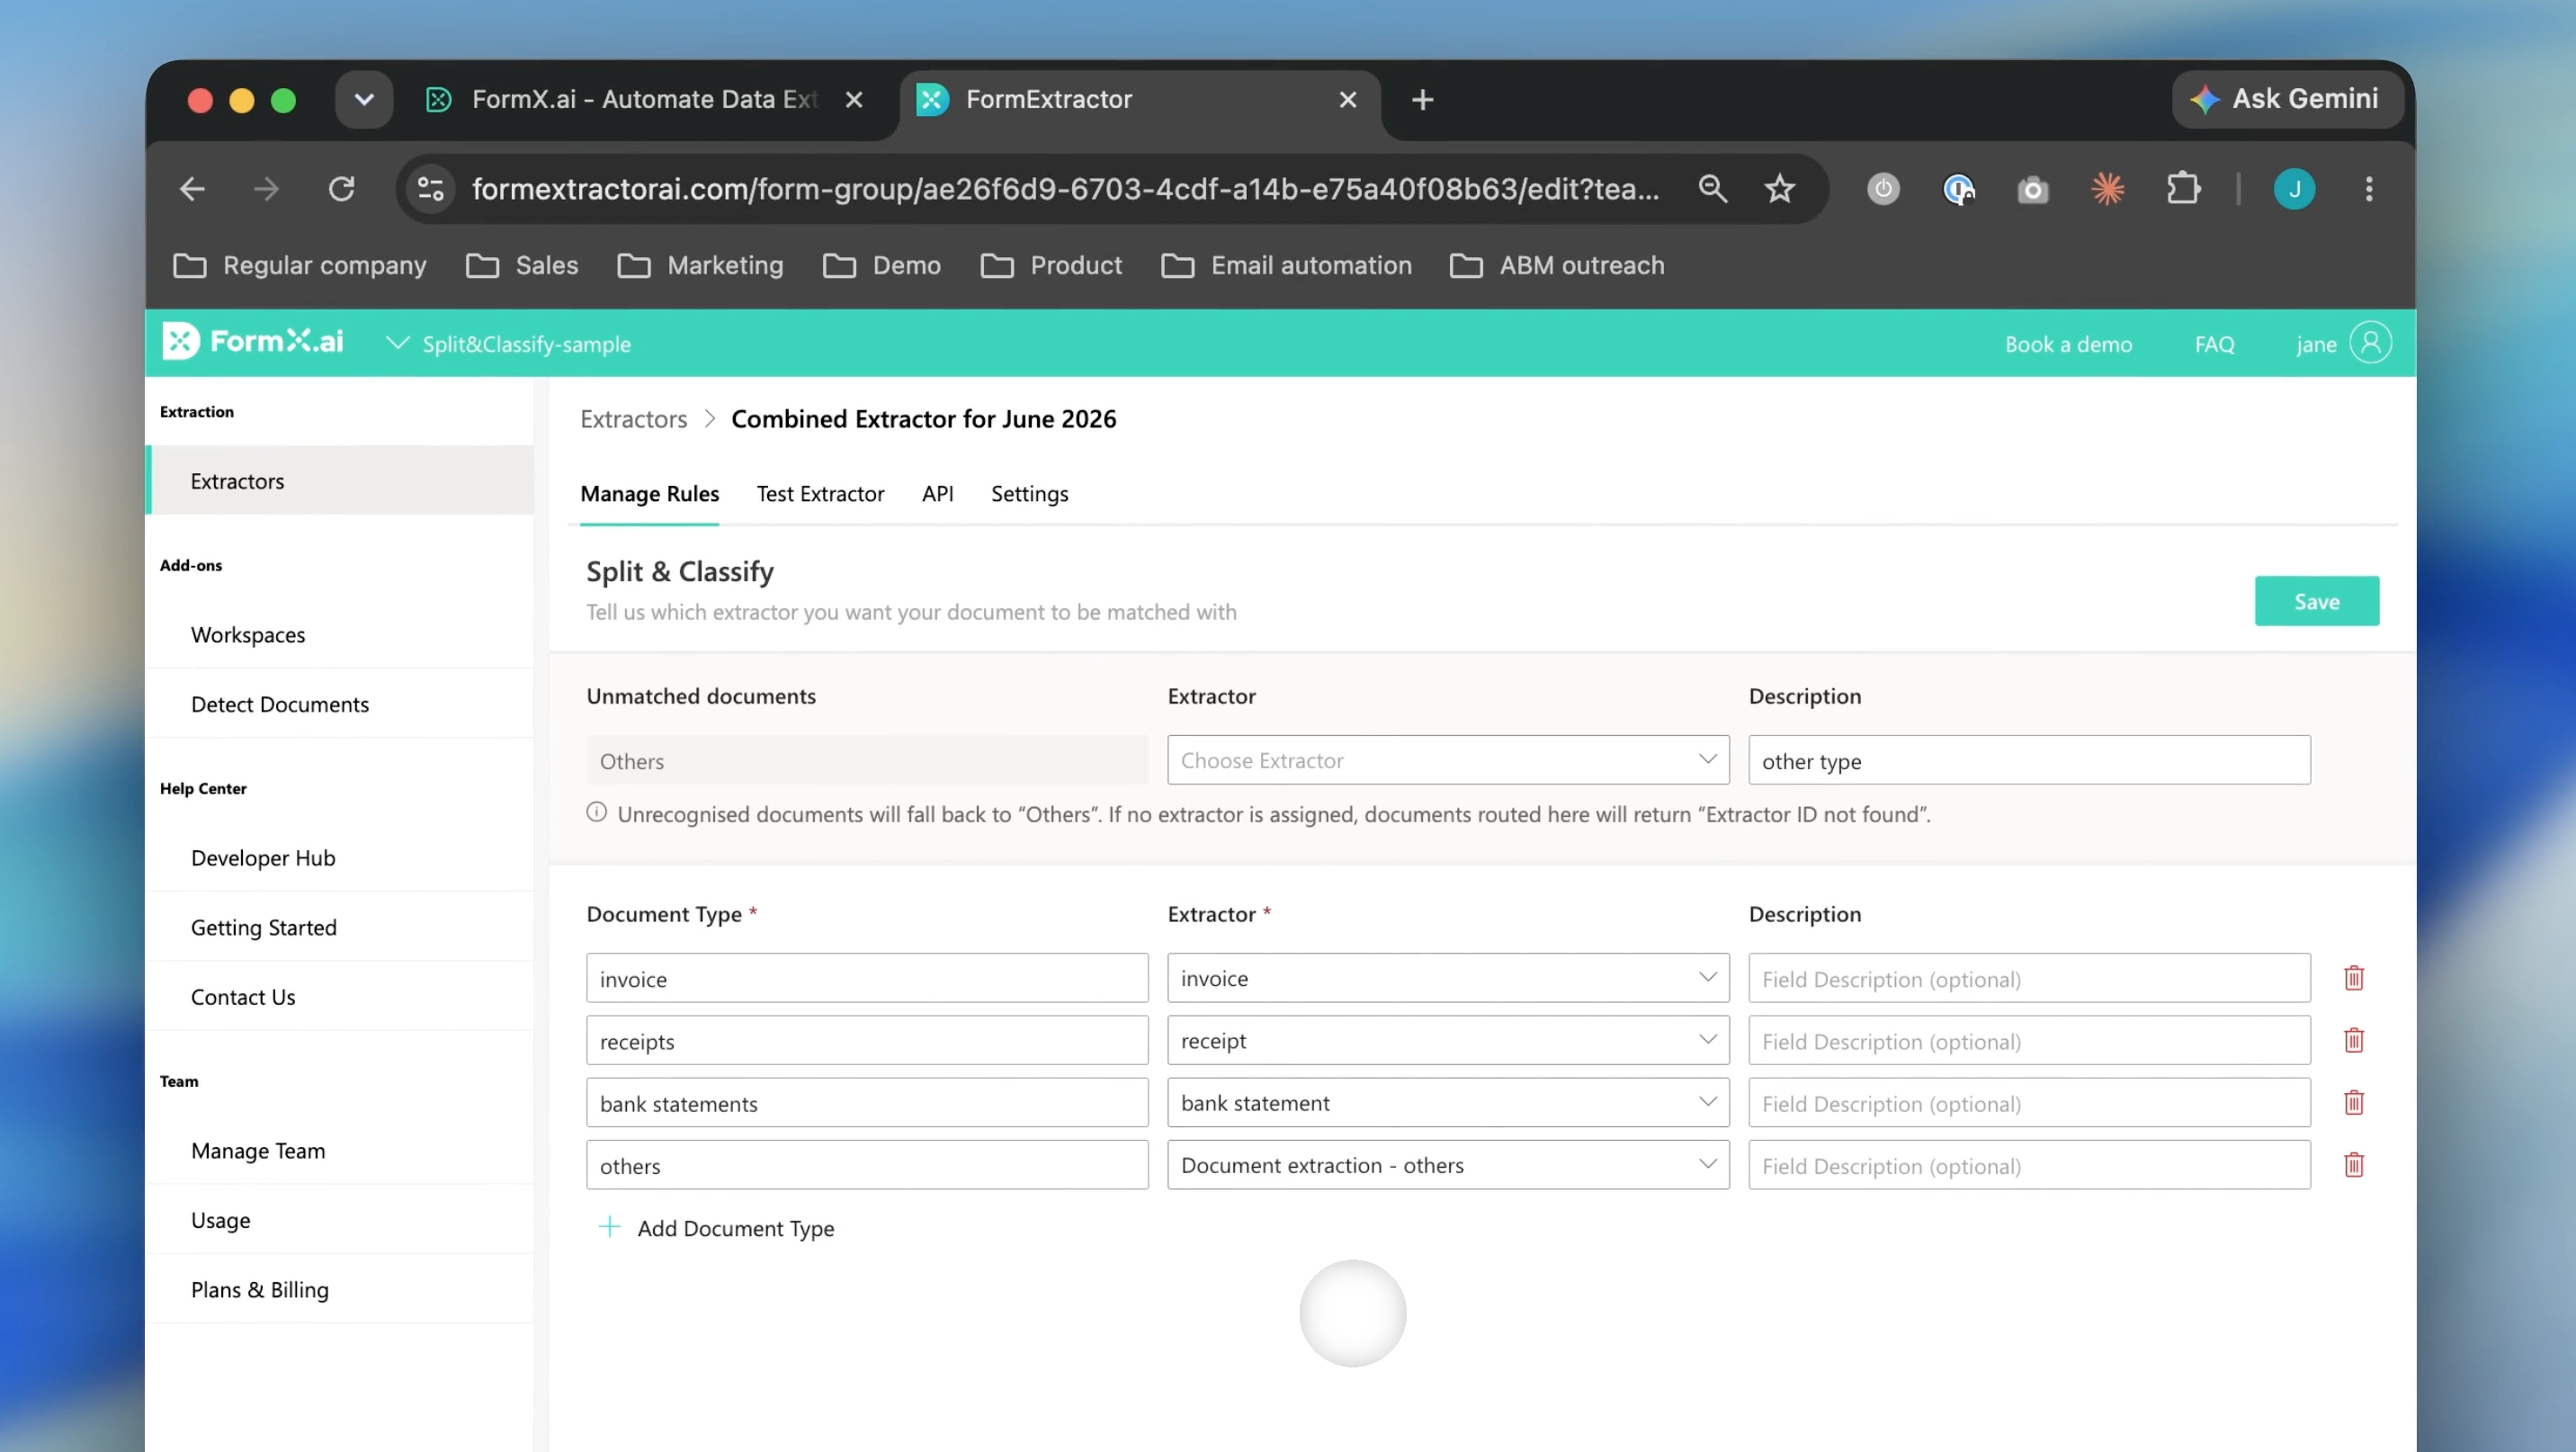
After selecting "Split & Classify", add all the extractors you created in Part 1 — including the "Others" fallback.
-
Save the combined extractor.
Setting Up Split & Classify in Workspaces
Part 3 - Connect to a Workspace
-
Go to Workspaces, select "Create new workspace" and connect your workflow to the combined extractor you just created. This is where you'll upload documents and run your extractions.
How classification works: FormX uses its built-in document classification model to identify the type of each page and apply the right extractor automatically. Each page in the uploaded document is processed and returned as an individual result. Any page that doesn't match a known type will be flagged under your "Others" extractor for review.
Setting Up a Naming Pattern
Naming patterns let you define a template for how each extracted document is labelled in the output. This is especially useful when processing batches: you can include values from the extracted data directly in the name, so results are easy to identify and organise downstream.

- Go to the settings of the workspace connected to your combined extractor.
- Scroll down to find the Naming Patterns section. You'll see one pattern configuration for each document type in your combined extractor.
- For each document type, build your naming pattern by selecting fields from the dropdown — such as file name, page number, document type, or any extracted data field (e.g., invoice date, supplier name). If you'd like to separate fields, just type a character between them (like _ or -) to keep filenames readable.
- Save your settings. FormX will apply the pattern automatically by document type to every document processed through that workspace.
Exporting Your Results
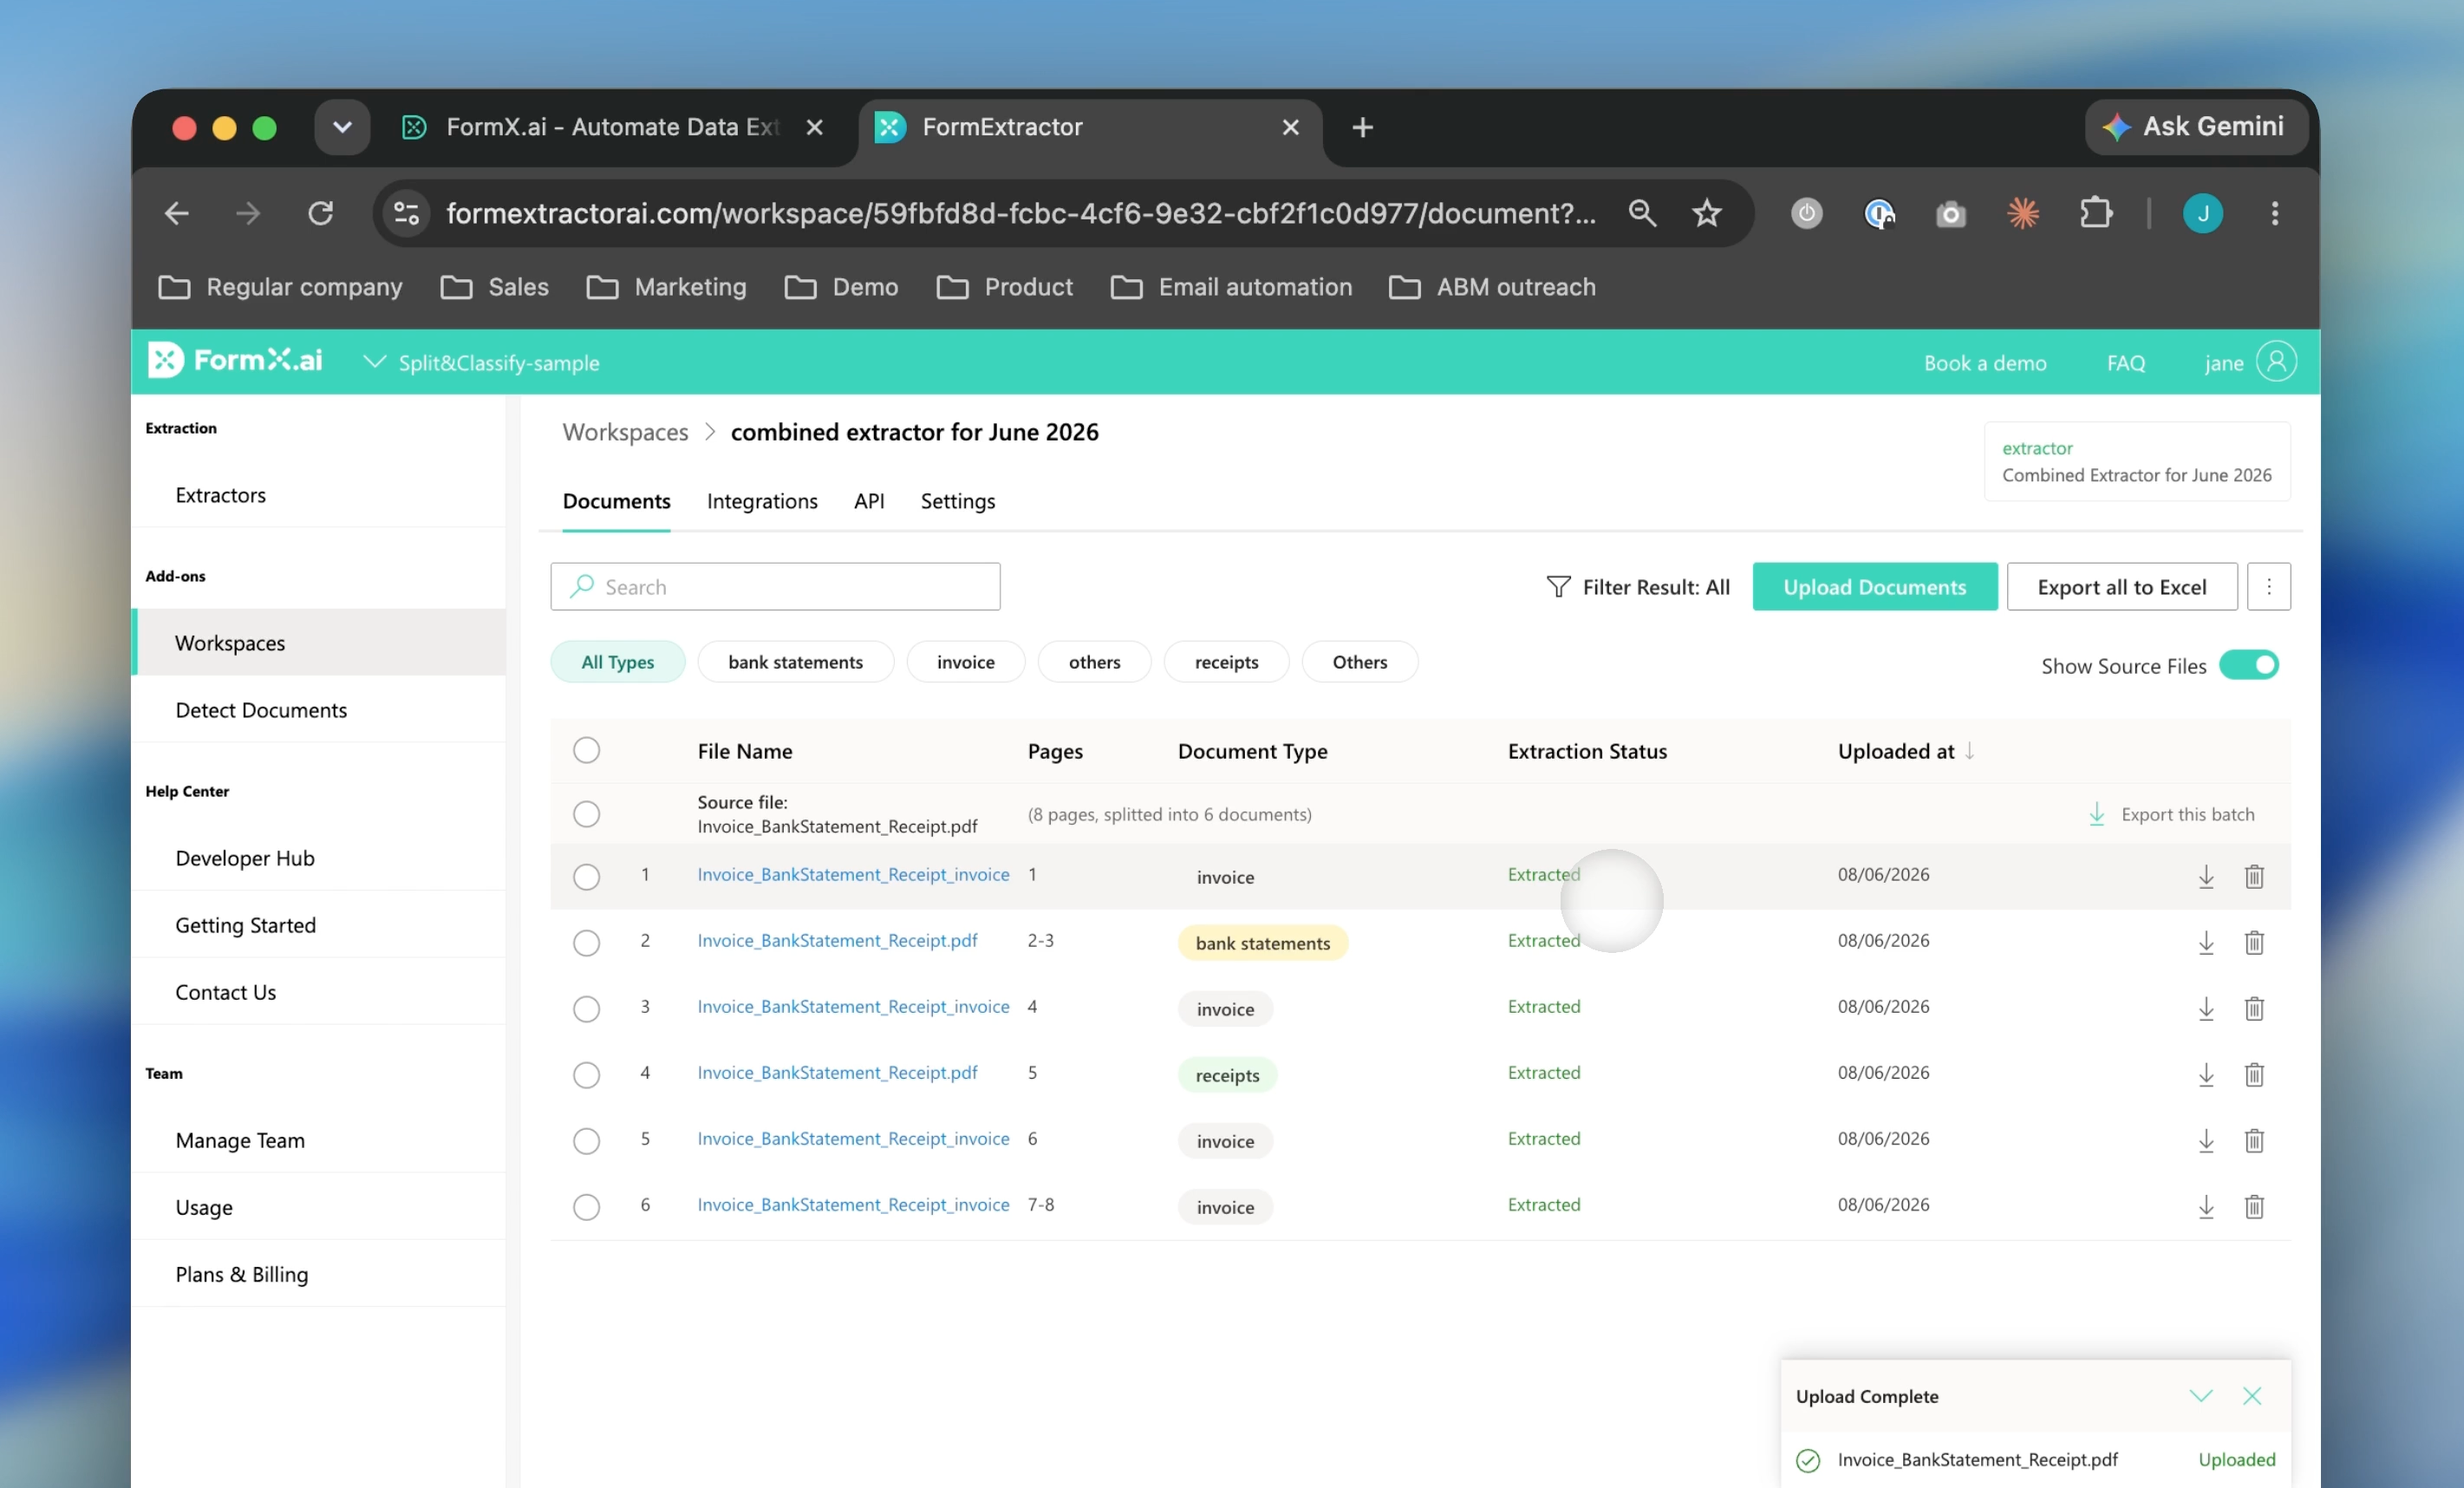
Once you have uploaded all your files to your workspace and the extraction process is complete, you are ready to export your results. You have two export options:
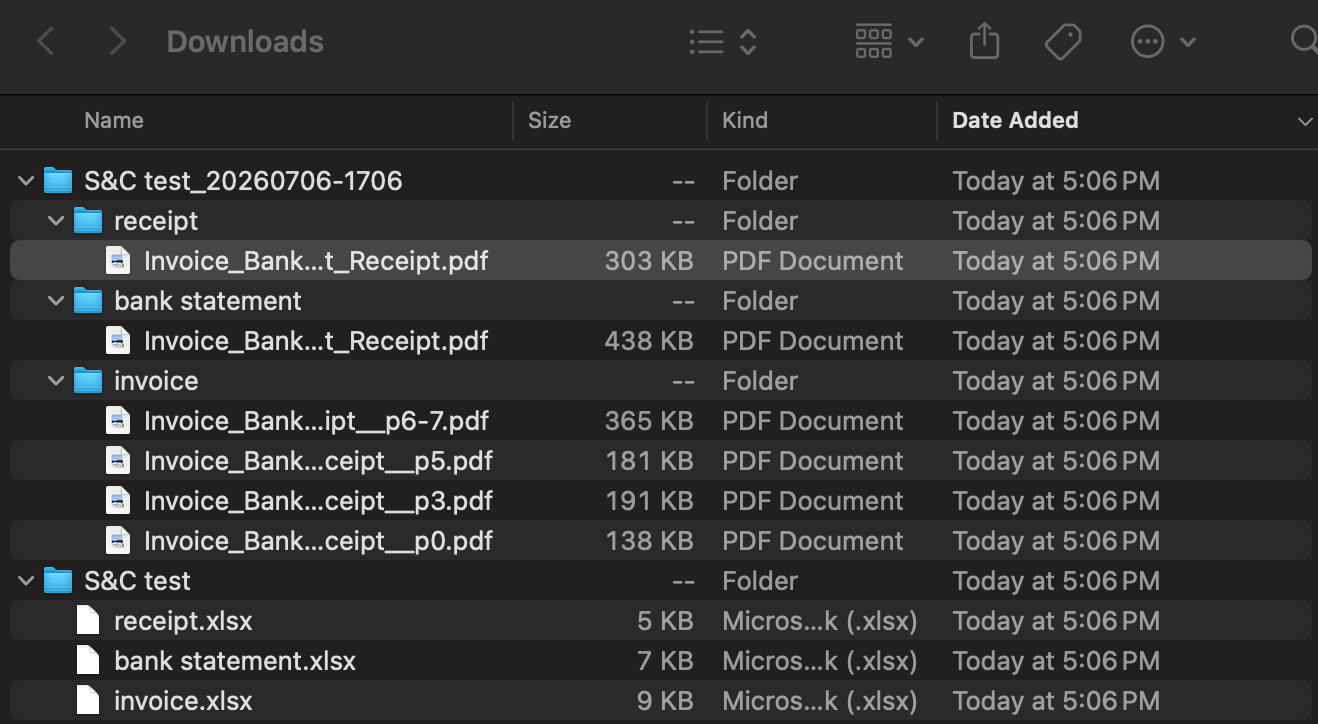
- Download Documents: Download the processed source files. FormX will automatically split your pages into individual files and pre-sort them into categorized folders based on their document type (e.g., invoice, receipt, and bank statement).
- Export to Excel: Download your extracted data. Instead of combining all data into one flat sheet, FormX exports each document type into its own dedicated Excel workbook, keeping your data organized.
Updated 13 days ago